 |
| As the cold winter months make way for the warmth of spring, it's time to focus on reviving your lawn and undoing the damage caused by the harsh weather. Winter can be tough on your lawn, leaving it dull, patchy, and needing serious care. But fear not! With the right strategies and a little TLC, you can bring your lawn back to life and have it looking lush and vibrant in no time. |
| Assessing the Damage |
| Before you dive into any lawn care regimen, it's essential to assess the extent of the damage caused by winter. Take a walk around your yard and look for signs of trouble. Are there patches of dead grass? Are there areas where the soil has been compacted by snow and ice? Identifying these issues will help you tailor your approach to lawn care and ensure that you're addressing the specific needs of your lawn. |
| Clearing Debris |
| One of the first steps in reviving your lawn is clearing away any debris accumulated over the winter months. Dead leaves, branches, and other debris can prevent your grass from getting the sunlight and air it needs to thrive. Use a rake or a leaf blower to remove any debris from the surface of your lawn, being careful not to damage the grass underneath. Consider dethatching your lawn if there is a significant buildup of dead grass and roots. |
| You can also use this opportunity to declutter. Store the items cluttering your yard by finding an affordable storage solution, such as the ones provided by Centennial Moving. They specialize in providing storage solutions to help you declutter your yard and create space for your revived lawn to thrive. They offer affordable storage options to safely store items cluttering your yard, allowing you to clear away debris and create a beautiful outdoor space. Whether you need short-term storage while revitalizing your lawn or a long-term solution for excess belongings, they can assist you in finding the right storage solution for your needs. Using their services, you can ensure that your lawn receives the sunlight and air it needs to flourish without clutter overshadowing it. |
| Overseeding |
| If your lawn has bare or thin patches due to winter damage, overseeding can help fill those areas and promote healthy grass growth. Choose a high-quality grass seed well-suited to your climate and soil type, and spread it evenly over the bare patches in your lawn. Regularly water the newly seeded areas to moisten the soil and encourage germination. Overseeding also helps to introduce newer, more resilient grass varieties to your lawn. |
| Reviving Your Lawn: Aeration |
| Compacted soil is a common problem after winter, as snow and ice can press down on the ground, squeezing out the air pockets essential for healthy root growth. The process of aeration involves creating small holes in the soil, which allows for the penetration of air, water, and nutrients deep into the ground. You can aerate your lawn using a manual or mechanical aerator or by hiring a professional lawn care service to do the job for you. Aerating also helps alleviate soil compaction and promote better drainage. |
| Fertilizing |
| After a long winter, your lawn may need a nutrient boost to help it recover and thrive. Fertilizing in the spring can give your grass the essential nutrients it needs to green up and grow vigorously. Choose a fertilizer specifically formulated for spring application and follow the manufacturer's instructions for application rates and timing. Be careful not to over-fertilize, as this can cause more harm than good. Consider using organic or slow-release fertilizers for a more sustainable approach. |
| Mowing |
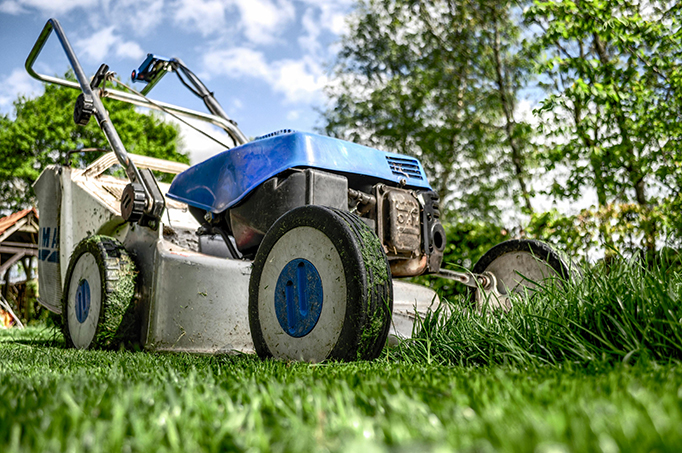
| Once your lawn starts to green up in the spring, it's essential to establish a regular mowing schedule to keep it looking neat. Set your mower blades to the appropriate height for your grass type, and aim to remove no more than one-third of the grass blade each time you mow. Mowing too short can stress your lawn and make it more susceptible to weeds and disease. Additionally, leaving grass clippings on the lawn can provide natural nutrients as they decompose, acting as mulch. |
 |
| A vital part of reviving your lawn is not mowing too short. |
| Watering |
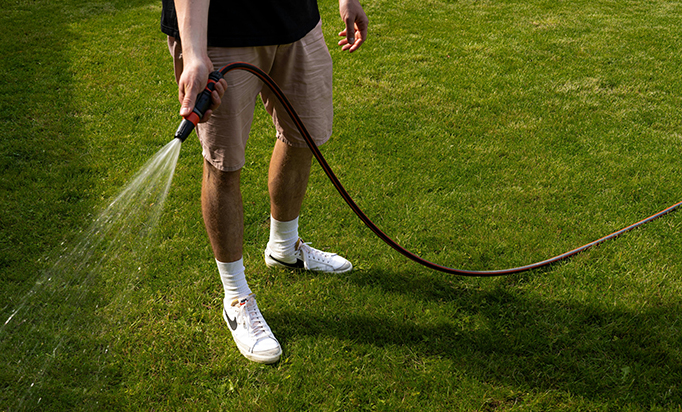
| Proper watering is crucial for a healthy lawn, especially in the spring when grass emerges from dormancy and is actively growing. Deep, infrequent watering is generally recommended, as it encourages deep root growth and helps the grass become more drought-tolerant. Aim to water your lawn early in the morning to minimize evaporation, and it is best to avoid watering in the evening, as this can create a suitable environment for fungal diseases to grow. Consider installing a rain gauge or moisture sensor to help you monitor soil moisture levels and adjust your watering schedule accordingly. |
 |
| Proper watering is crucial for a healthy lawn, especially in the spring when grass emerges from dormancy and is actively growing. |
| Weed Control |
| Spring is prime time for weeds to pop up in your lawn, competing with your grass for space, water, and nutrients. To keep weeds at bay, consider applying a pre-emergent herbicide in early spring to prevent weed seeds from germinating. If weeds have already started to invade your lawn, you can use a post-emergent herbicide to spot-treat problem areas. Alternatively, manual weeding or organic weed control methods such as mulching can reduce weed growth. |
| Pest Management |
| As the weather warms up in the spring, pests such as grubs, cinch bugs, and armyworms can become active and wreak havoc on your lawn. It's important to be vigilant for signs of pest damage on your lawn, such as brown patches of grass or irregular feeding patterns. If you suspect that there is a pest problem, it's recommended to consult a professional lawn care service for assistance in identifying the culprit and developing a targeted treatment plan. Consider implementing integrated pest management strategies, such as promoting natural predators and using pest-resistant grass varieties, to minimize the need for chemical interventions. |
| Conclusion |
| Reviving your lawn in the spring and recovering from winter damage may require time and effort, but the results are well worth it. By assessing the damage, clearing debris, aerating, overseeding, fertilizing, mowing, watering, and implementing weed and pest control measures, you can help your lawn bounce back from the effects of winter and thrive throughout the spring and summer months. With proper care and maintenance, you'll have a lush, green lawn that you can enjoy all season long. Remember to be patient and consistent with your lawn care efforts, and don't hesitate to seek professional help if you encounter any challenges. Happy gardening! |
Spring Lawn - Photo By Creative Vix
Mower Image - Photo By Skitterphoto
Person Watering Lawn - Photo By Anastasiya Badun
|