 |
| Your home’s curb appeal is the first impression it makes on visitors, neighbors, and potential buyers. Whether you're staying put or thinking of selling down the road, a few quick weekend upgrades can make your property look fresh, welcoming, and well cared for. The best part? You don’t need to spend a fortune or hire professionals. With just a little time, elbow grease, and creativity, you can enhance your home’s exterior and enjoy the boost in charm. Tackle simple curb appeal projects you can complete in a weekend! |
| Refresh Your Front Door with Color and Character |
| Your front door is more than an entryway—it’s a focal point. A fresh coat of paint in a bold or inviting color can instantly transform the face of your home. Choose a color that complements your siding or brick while adding a touch of personality. Whether it’s deep navy, classic red, cheerful yellow, or sleek black, the right hue can speak volumes. |
| Consider replacing old hardware like doorknobs, knockers, or kickplates. Shiny new metal finishes—such as brushed nickel or matte black—can bring a modern touch. If your budget allows, upgrading the entire door or adding a decorative storm door can make an even stronger statement. |
| Style Your Front Porch with Simple Decor |
| Your porch doesn’t need to be elaborate to be inviting. A cozy chair or bench, a stylish outdoor rug, and a few well-placed pillows can create a beautiful, lived-in look. Adding a seasonal wreath to your front door or placing a decorative welcome sign nearby also sets a warm tone. |
| As seasons change, so can your decor. Swapping pillows or planters every few months can give your porch a fresh vibe without much effort. If you’re planning a move, this is also the perfect time to prepare your outdoor furniture. Clean, repair, and store or cover it properly so it’s ready to go when moving day comes. |
| Upgrade Your House Numbers for a Sleek Look |
| An often-overlooked detail, house numbers can be a subtle but effective curb appeal upgrade. If your numbers are faded, outdated, or hard to read from the street, it’s time for a change. Sleek, modern fonts in contrasting colors will make your address stand out and add a polished look to your exterior. |
| There are many stylish options available at home improvement stores or online. Whether you opt for metal, wood, or backlit numbers, just make sure they’re clearly visible and match the overall vibe of your home. |
| Power Wash Your Way to a Cleaner Home |
| Grime builds up slowly, so you might not even notice your siding, porch, or walkway getting dingy. But once you power wash these areas, you’ll be amazed at the difference. Power washing is an easy weekend project that can breathe new life into your exterior surfaces. |
| Focus on your home’s facade, driveway, front steps, and even the garage door. If you don’t own a power washer, many hardware stores rent them by the day. Be sure to read up on how to use the machine properly to avoid damaging your surfaces. |
| Plant Colorful Flowers and Trim the Greenery |
| Adding greenery and flowers is one of the quickest ways to inject charm and warmth into your home’s exterior. Choose hearty, in-season plants that thrive in your climate. Potted flowers can be strategically placed on your porch or steps to draw the eye and create a welcoming feel. |
| Take time to weed your flower beds, edge the lawn, and trim overgrown shrubs. A tidy landscape signals care and attention. If you have a neglected garden area, revitalizing it with mulch, new plantings, and garden borders can make a huge difference in just a couple of days. |
 |
| One of your curb appeal projects can be planting colorful flowers. |
| Curb Appeal Projects: Install or Update Outdoor Lighting |
| Exterior lighting does more than just help you see at night—it sets the mood. Swap outdated or rusty fixtures with modern options that complement your home’s outdoor area. Lantern-style sconces or sleek LED lights can enhance the overall design. |
| Consider adding solar-powered path lights along walkways or flower beds for a quick and easy improvement that doesn’t require wiring. If your porch light fixture is still functional, simply replacing the bulb with a warm-toned LED and cleaning the glass can make it feel brand new. |
| Touch Up Paint and Clean Trim |
| Sometimes, it’s the little things that matter. Walk around your home and look closely at the trim, shutters, and windowsills. You might find chipped paint, cobwebs, or signs of wear. A quick paint touch-up in these areas can help your home look crisp and cared for. |
| Cleaning the trim and windows is another fast but satisfying task. Use a hose and a mild detergent or a soft brush for stubborn dirt. Clean windows sparkle in the sunlight and reflect your attention to detail. |
| Create Defined Pathways and Edging |
| Walkways that are clearly defined and edged neatly convey a strong sense of order and care. If your front path is a bit unruly or overgrown, consider using landscape edging to give it clean lines. Stone, brick, or rubber edging are all affordable and easy to install over a weekend. |
| You can also lay new stepping stones or add gravel to existing paths for a refreshed look. Use weed barrier fabric underneath for easier maintenance, and make sure everything is level for a professional feel. |
| Clean or Replace Your Mailbox |
| The mailbox is often the first thing people see when approaching your home. If yours is rusty, dented, or leaning like it’s seen better days, replacing it is a small but impactful upgrade. Choose one that matches your home’s style, whether it’s traditional, modern, or farmhouse chic. |
| If your current mailbox is still in good shape, consider giving it a facelift with paint, new numbers, or decorative touches like flowers planted around its base. A small change here can make a surprising difference in overall curb appeal. |
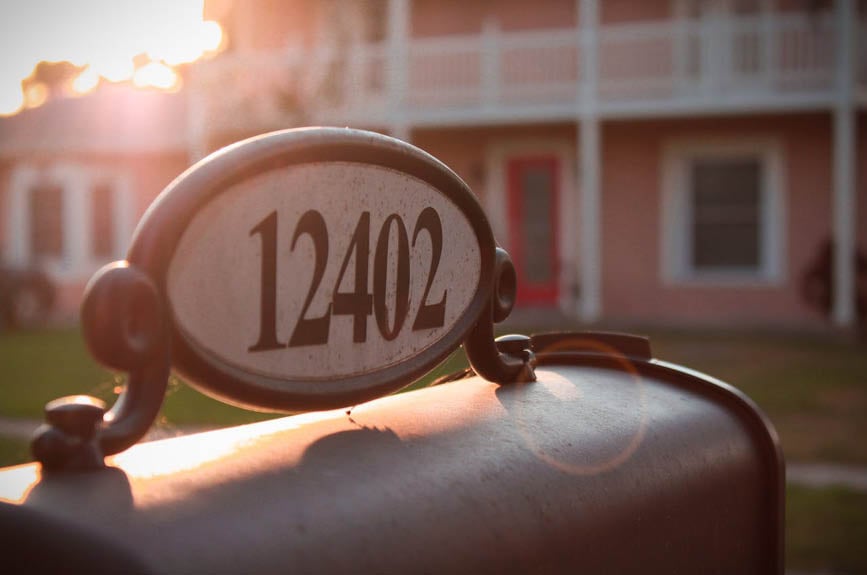 |
| The mailbox is often the first thing people see when approaching your home. |
| Add Window Boxes for a Pop of Charm |
| Window boxes instantly add charm and personality. They’re perfect for small homes or spaces where you might not have a lot of room for landscaping. Choose flowers with bright colors or lush greenery to add visual interest and bring your facade to life. |
| Most window boxes can be installed in just a few hours with basic tools. Be sure to choose rot-resistant materials and ensure they’re securely fastened. Fill them with potting soil and select flowers or herbs that suit your home’s exposure to sunlight. |
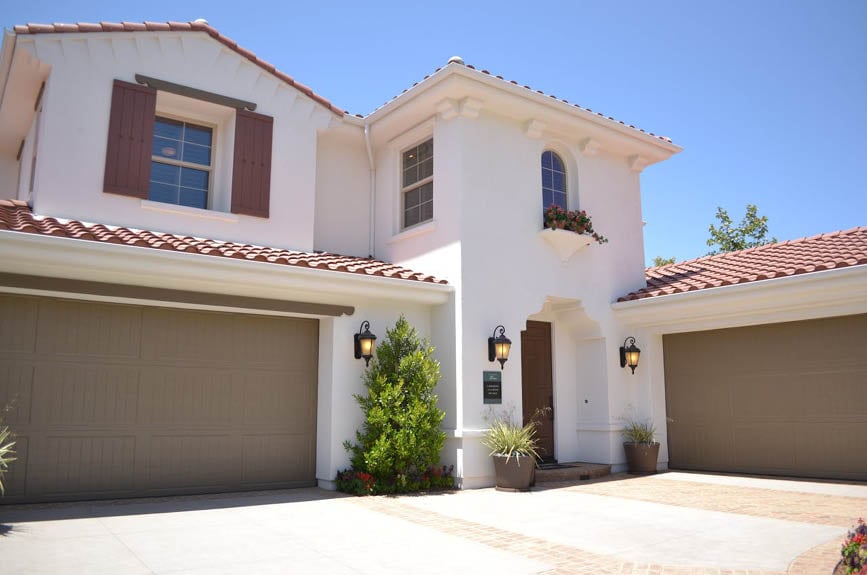
| Give the Garage Door Some Love |
| Garage doors take up a large portion of your home’s facade but are often forgotten. If yours is looking tired, consider cleaning it well and maybe a coat of paint. For an added touch of sophistication, install decorative hardware like faux hinges or handles. |
| You can also use magnetic accent kits to mimic the look of carriage doors without the cost. These affordable, easy-to-install additions can transform a plain garage door into a statement piece in just a few hours. |
| Don’t Forget the Details |
| While tackling your curb appeal upgrades, keep an eye out for the small touches that often go unnoticed but collectively make a difference. Sweep your front steps, clean the porch ceiling, replace torn screens, and ensure your doorbell works properly. Repair cracks in the sidewalk if possible, and check for loose boards or railings. |
| Even something as simple as painting or replacing an old welcome mat can contribute to a more inviting entrance. These details may be small individually, but together they create a polished, finished look. |
| Conclusion: A Weekend Well Spent |
You don’t need weeks of work or a contractor’s budget to make your home more attractive from the outside. With just a few hours over the weekend, you can tackle meaningful curb appeal projects that bring immediate results. From painting your front door to planting new flowers and updating light fixtures, every little effort adds to the overall impact.
|
House Photo By:Luis Yanez
Spring Walkway Photo By:Pexels
Mailbox Number Photo By:Sean Patrick
|