 |
Ever looked out your window and sighed at your sad, brown patch of what used to be grass? Trust me, you’re not the only one. Whether it’s from a heatwave, pet damage, disease, or just plain neglect, dead grass happens. But here’s the good news: your lawn might look hopeless now, but with a little patience and the right steps, it can bounce back.
Grab your gloves, water hose, and a little determination. Let's talk about how to revive dead grass and bring your lawn back to life. You might even enjoy the process. Yep, I said it!
|
| Step 1: Diagnose the Problem (Don’t Skip This) |
| Before you go throwing seed or fertilizer on your lawn, you’ve gotta play detective.
|
| Brown vs. Dead |
First, is your grass really dead or just dormant? Dormant grass is like a hibernating bear. It turns brown to conserve energy especially in hot or dry conditions but it’s still alive. Dead grass, on the other hand, is gone for good.
Here’s a trick: grab a patch and tug gently. If it pulls up easily with no resistance, it’s dead. If it holds on tight, it’s probably just dormant.
|
| What Killed Your Lawn? |
Figure out what caused the damage. Some common culprits include:
- Lack of water (especially in summer)
- Too much foot traffic
- Pet urine
- Pests like grubs
- Fungal diseases
- Over-fertilization or poor soil
|
| Once you know the "why," you'll be able to plan your comeback strategy properly.
|
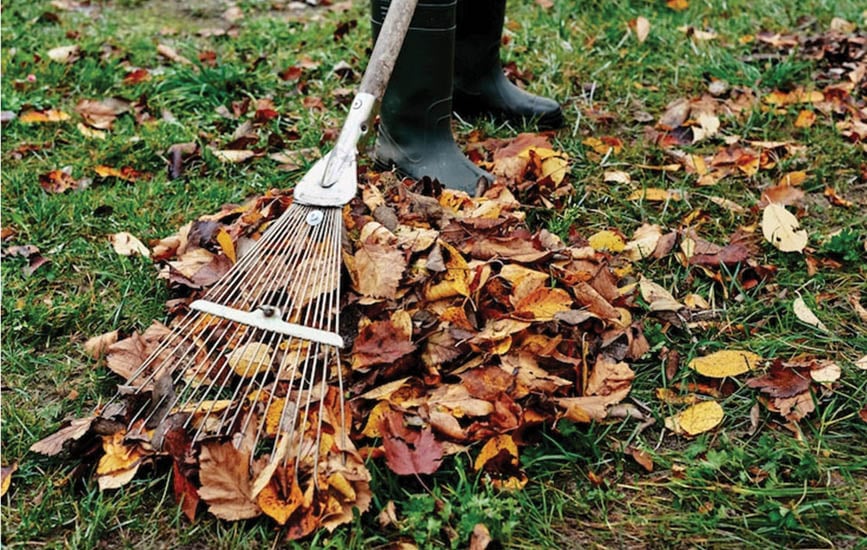
| Step 2: Clean Up the Mess |
If you’re dealing with actual dead patches, start by getting rid of what’s no longer serving your lawn.
- Rake up dead grass and any debris.
- Remove weeds that have taken advantage of the bare space.
- If you see thatch (that spongy layer just above the soil), dethatch your lawn with a dethatching rake or a machine.
|
| Why bother? Because this step makes room for new growth and lets nutrients, water, and air get where they need to go down to the roots.
|
| Step 3: Aerate the Soil (Let It Breathe) |
If your lawn has compacted soil thanks to heavy foot traffic, for example your grass roots won’t get the oxygen they need.
Aerating involves poking holes in the soil to allow air, water, and nutrients to reach the roots. You can rent a core aerator or use a manual aerating tool. Yes, it takes time, but it’s a total game changer.
Bonus tip: Aerate when the soil is moist, not bone dry or super soggy.
|
| Step 4: Test and Improve Your Soil |
| This step might not sound exciting, but soil testing is low-key magic. You can get a DIY test kit from a garden center or send a sample to a local extension office.
|
What you’ll learn:
- Is your pH off?
- Are you low on key nutrients?
- Do you need to improve drainage?
|
Based on the results, you might need to add lime, sulfur, or specific fertilizers. You might also consider mixing in compost or organic matter to improve texture and fertility.
Think of it as prepping the perfect bed for your grass to sleep in. |
| Step 5: Reseed or Sod—Pick Your Method |
| Now it’s time to choose your path: reseeding or sodding. Both have their perks.
|
| Reseeding |
Best for: Widespread thinning, smaller dead patches.
- Choose the right grass seed for your region (cool-season or warm-season).
- Mix the seed with topsoil or compost to help it settle and grow.
- Use a seed spreader for even coverage.
- Gently rake the area to make sure the seeds have good soil contact.
- Add a light layer of straw mulch to keep moisture in and birds out.
|
| Sodding |
Best for: Larger areas that need quick results.
- Remove the top layer of dead grass.
- Level the soil and add compost.
- Lay sod pieces tightly together like puzzle pieces.
- Water immediately and often (more on that below!).
|
| Whichever route you go, your grass will need TLC in the early stages. |
| Step 6: Water Like a Pro |
This step can make or break your new grass.
- Water lightly but frequently at first. Think 2–3 times a day for the first week.
- Once the seeds germinate (usually 7–14 days), start cutting back to once a day, then every other day.
- Eventually, you want deep, infrequent watering to encourage deep root growth.
|
| Pro tip: Early morning is the best time to water. Evening watering can lead to fungal growth. |
| Step 7: Fertilize at the Right Time |
- Don’t go crazy with fertilizer on day one. New grass can be sensitive, and too much nitrogen early on can burn it.
- Use a starter fertilizer after the grass has had a couple of weeks to settle in. Follow the instructions to avoid overdoing it.
- Once your grass is well-established (think 6–8 weeks), you can switch to a regular feeding schedule based on your grass type.
|
| Step 8: Keep Off the Grass (For Now) |
| New grass is like a baby-super delicate. Try to keep pets, kids, and foot traffic off the area while it grows.
If you absolutely must walk on it, lay down some planks or boards to distribute your weight.
|
| Step 9: Mow Smart |
| Wait until your grass is at least 3 inches tall before giving it the first haircut. And don’t mow it super short follow the one-third rule: never remove more than one-third of the grass blade at a time.
Sharp blades matter too. Dull mower blades can rip your new grass and stress it out.
|
| Step 10: Maintenance for Long-Term Lushness |
Congrats! If you’ve made it this far, your lawn should be looking a lot better. But the key to keeping it lush is ongoing love. Here’s how:
- Mow regularly, but don’t scalp your lawn.
- Fertilize seasonally based on your grass type.
- Aerate once a year, ideally in the fall or spring.
- Keep it hydrated, especially during dry spells.
- Watch for pests and diseases, and treat early if you spot anything funky.
|
| What If It’s Still Not Working? |
If you’ve done everything and your lawn still looks like a crunchy mess, it might be time to call in a pro. You could be dealing with an issue like:
- Soil compaction that’s too deep to fix on your own
Severe grub infestation
- Hidden fungal issues
- Or even something unrelated, like poor yard drainage or a nearby tree sucking up all the nutrients
Sometimes a professional lawn care service can pinpoint the issue faster and offer more advanced solutions. |
| Bonus: When to Consider Starting Fresh |
Sometimes, it’s just not worth trying to save the entire lawn. If more than 50% of your lawn is dead and patchy, you might want to:
- Kill off everything with a non-selective herbicide.
- Wait a few weeks.
- Regrade, amend the soil, and start from scratch.
It’s more work up front, but you’ll be amazed at the long-term results.
|
| Pro Tip from Left Field: Don’t Forget What’s Under the Lawn
|
| Yep, I’m talking about the stuff underneath like irrigation systems, buried cables, or even air ducts if you’re near the home’s perimeter. I once met a guy in Sandy who completely revamped his yard but didn’t check the ductwork near his crawl space. Turned out his home needed air duct cleaning Sandy services because all the lawn dust and debris had gotten into the vents. Just saying sometimes healthy grass starts with a healthy home!
|
| Final Thoughts (But Not an Essay Ending, Promise) |
Reviving dead grass takes work, but it’s 100% doable with a little sweat and patience. Your lawn doesn’t need to look like a golf course overnight. Just take it step by step, and celebrate small wins-like that first green sprout popping up.
You’ve got this. And hey, once your lawn is back to being green and glorious, grab a chair, pour a cold drink, and admire the heck out of it. You earned it.
|