 |
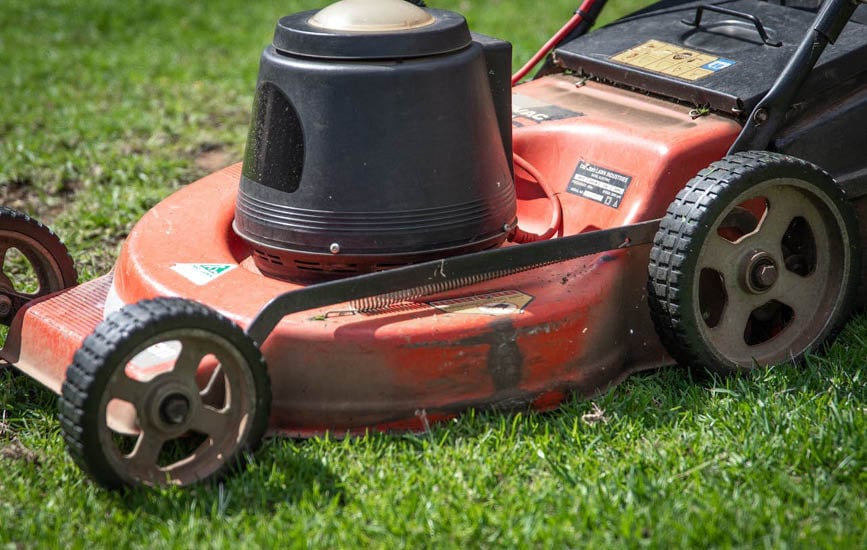
| Small engines power many of the tools people rely on every day, from lawn mowers and generators to pressure washers and snow blowers. These machines often work hard during certain seasons and then sit unused for months at a time. While this might seem harmless, problems can slowly develop when equipment is stored too long without proper preparation. Fuel can degrade, internal components may dry out, and small mechanical issues can begin forming long before the machine is used again. Understanding what happens inside an engine during extended storage helps equipment owners prevent damage and keep their machines running reliably for years. |
| Why Small Engines Are Sensitive to Long Periods of Inactivity |
Manufacturers design small engines for regular operation because frequent use keeps internal parts lubricated and systems working properly. When equipment is stored too long, these processes stop, and the engine gradually begins to deteriorate.
Unlike vehicle engines that people use frequently, many outdoor power machines operate only during certain seasons. A lawn mower may run weekly during the summer but remain idle throughout winter. During these long breaks, oil settles, fuel systems sit unused, and rubber components slowly age. Over time, even small changes inside the engine can affect how easily it starts and how efficiently it runs.
|
| Fuel Breakdown and Its Impact on the Engine |
Fuel degradation is one of the most common problems associated with storing equipment for too long. Gasoline begins to break down after only a few weeks, especially when exposed to oxygen and temperature changes.
As fuel deteriorates, it forms sticky residues often called varnish or gum. These substances settle inside the carburetor and fuel lines, blocking small passages that regulate airflow and fuel delivery.
When this happens, the engine may struggle to start or run unevenly. In severe cases, clogged carburetors require cleaning or replacement before the equipment can function properly again.
This issue is especially common when machines are stored with partially filled fuel tanks.
|
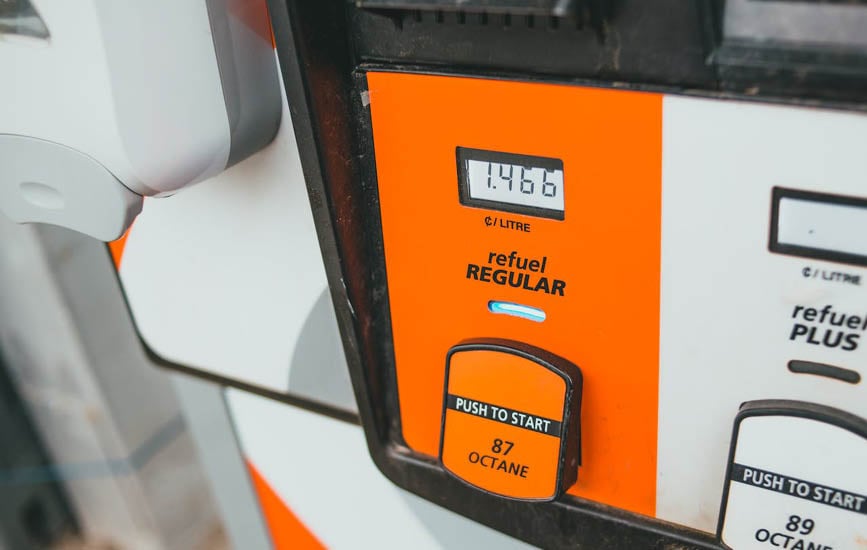
When equipment is stored too long, the fuel starts degrading. |
| Oil Settling and Loss of Internal Protection |
Engine oil protects moving parts by creating a thin barrier that reduces friction and wear. During regular use, oil circulates through the engine and continuously coats metal components.
When an engine sits unused, oil gradually drains away from certain areas. Internal surfaces that were once protected may become exposed to air and moisture.
This situation increases the risk of corrosion or metal-to-metal contact when the engine starts again. Although the damage may be minimal at first, repeated long storage cycles can slowly shorten the engine’s lifespan.
|
| Carburetor Problems That Develop Over Time |
The carburetor plays a central role in mixing air and fuel before combustion occurs. Its small jets and channels are designed to deliver precise amounts of fuel for efficient operation.
When equipment sits unused, leftover gasoline evaporates and leaves behind deposits. These deposits narrow the tiny openings inside the carburetor, disrupting the balance between air and fuel.
The result may include rough idling, stalling, or engines that refuse to start entirely. Many small engine repairs after long storage involve carburetor cleaning because even a small amount of buildup can interfere with operation.
|
| Choose The Right Storage |
Many equipment owners assume that simply parking a machine in the corner of a garage is enough to protect it during the off-season. However, improper storage conditions are one of the main reasons small engines develop problems.
Machines stored with untreated fuel, exposed to humidity, or placed in poorly ventilated areas often suffer the most damage. A common mistake is leaving equipment partially fueled and uncovered for months at a time.
Before storing equipment for extended periods, it is important to do your research to avoid regret. The storage choice most people get wrong involves ignoring fuel stabilization and environmental protection. Even small improvements, such as draining fuel or using stabilizers and keeping equipment dry, can make a significant difference in how well an engine performs later.
|
| Moisture and Rust Inside the Engine |
Humidity is another hidden threat to engines that remain unused for extended periods. Moisture in the air can enter the engine through intake systems or vents.
When temperatures change, condensation forms inside metal components. Over time, this moisture can lead to rust on internal surfaces such as cylinder walls or valves.
Rust may cause parts to stick or create rough surfaces that interfere with smooth engine operation. In severe cases, corrosion can prevent an engine from turning over entirely.
This issue is especially common when equipment is stored in damp garages, sheds, or outdoor storage areas without proper protection.
|
| Battery and Electrical Component Decline |
Some small engines rely on electric starters or charging systems that include small batteries. When these machines sit unused, batteries slowly lose their charge.
If the battery remains discharged for too long, it may no longer hold power. Electrical connections can also corrode over time, particularly in humid environments.
These issues may not appear immediately. However, when you finally need the equipment, a weak battery or poor electrical contact may prevent the engine from starting.
|
| Deterioration of Rubber and Plastic Components |
Many small engine systems rely on flexible materials such as rubber fuel lines, gaskets, and seals. These components allow fuel and air to move through the engine safely.
During long storage periods, rubber parts can dry out or become brittle. Temperature changes and exposure to air accelerate this process.
Once rubber components begin to crack or stiffen, leaks can develop in the fuel system. This may lead to poor performance, fuel loss, or difficulty starting the engine.
Replacing worn seals and hoses is common when equipment has been stored for several seasons without use.
|
| Air Filter Contamination During Storage |
Air filters protect engines from dust and debris. However, when equipment sits unused in a garage or shed, the filter can collect more than just airborne particles.
Insects, small rodents, and debris sometimes find their way into idle equipment. Nests or accumulated dust can block airflow before the engine even starts.
Restricted airflow affects combustion and may cause engines to run poorly or overheat. Inspecting the air filter after long storage is an important step before starting any small engine.
|
| Signs an Engine Has Been Stored Too Long |
Engines that have been sitting unused often display similar warning signs when restarted. Hard starting is usually the first clue that fuel or carburetor issues have developed.
Rough running, sputtering, or stalling may follow once the engine starts. In some cases, engines emit unusual smoke due to oil distribution problems or clogged air systems.
Unusual vibrations or metallic sounds can also indicate internal wear caused by rust or dry components. Recognizing these signs early allows owners to address problems before they become more serious.
|
| Simple Habits That Help Prevent Storage Damage |
Preventing long-term storage issues is often easier than repairing them later. Small engines benefit from basic preparation before extended downtime.
Running the engine briefly every few weeks helps circulate oil and prevent components from sticking. Draining or stabilizing fuel reduces the risk of carburetor buildup.
Storing equipment in a dry, covered area also minimizes moisture exposure. Even simple maintenance steps, such as cleaning air filters and checking oil levels before storage, help preserve engine health.
These small habits ensure that equipment remains ready to perform when the next season arrives.
|
| Why Regular Maintenance Extends Engine Life |
Small engines are designed to be durable, but they depend on consistent care. Routine maintenance not only prevents damage during storage but also improves overall reliability.
Cleaning fuel systems, replacing worn components, and checking lubrication regularly keep engines operating smoothly. When machines are properly maintained, they are far less likely to experience problems after sitting idle.
Maintenance also provides an opportunity to detect early signs of wear before they become costly repairs.
|
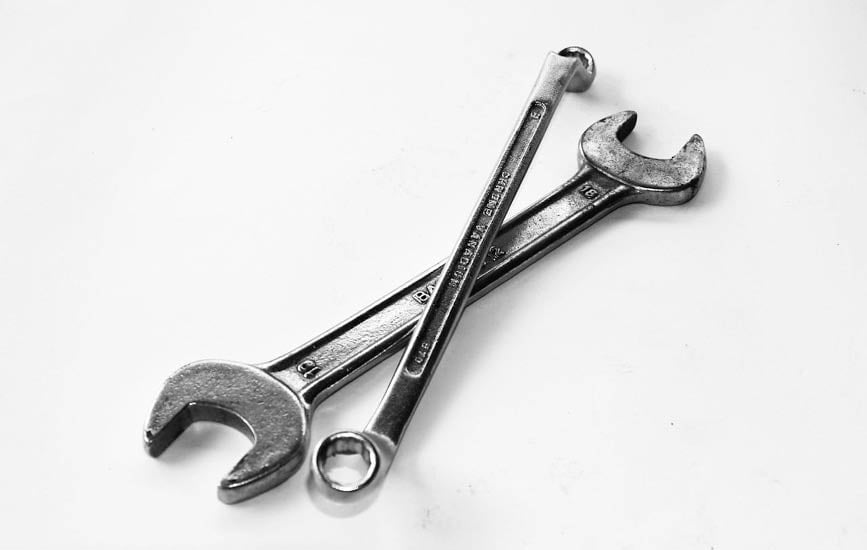
Small engines are designed to be durable, but they depend on consistent care. |
| The Importance of Preparation and Awareness |
Small engines are dependable tools when they receive proper care, but extended storage can quietly affect their performance. When equipment is stored too long without proper preparation, fuel breaks down, moisture builds up, oil settles, and aging components begin to create mechanical problems.
Fortunately, most of these problems are preventable. By understanding how long periods of inactivity impact small engines, equipment owners can take simple steps to protect their machines during off-seasons. With proper storage and routine maintenance, these engines remain reliable and ready to perform whenever they are needed.
|