 |
| A healthy, green lawn can completely transform the look of your home, but maintaining it often involves using fertilizers, herbicides, and pesticides. While these products can make your yard thrive, they also require care and responsibility. Practicing safe chemical use on your lawn is essential not only for protecting your grass but also for keeping your family, pets, and the environment healthy. When handled correctly, lawn care products can bring out the best in your yard without causing harm. This guide explores the best ways to manage, apply, and store these chemicals responsibly, so your lawn can stay beautiful and your surroundings safe. |
| Understanding the Role of Lawn Chemicals |
| Before diving into safety practices, it’s important to understand why chemicals are used in lawn care in the first place. Fertilizers feed essential nutrients to your grass, encouraging growth and color. Herbicides target unwanted weeds that compete with your lawn for resources. Pesticides help control insects and diseases that can destroy turf. When used properly, these products can make lawn maintenance easier. However, when applied incorrectly, they can leach into groundwater, harm beneficial insects, or burn your grass. |
| Safe Chemical Use On Your Lawn: Read and Follow Product Labels Carefully |
| The most critical step in safe chemical use begins with reading the label. Every product has specific instructions about how much to apply, when to use it, and how to protect yourself during application. These directions aren’t mere suggestions—they’re based on scientific testing to ensure safety and effectiveness. Pay close attention to the application rate and weather recommendations, as applying too much or during the wrong conditions can reduce results and increase risks. |
| Wear Protective Gear Every Time |
| Even if you’re just spot-treating a few weeds, wearing protective gear is non-negotiable. Gloves, long sleeves, and safety goggles can protect your skin and eyes from accidental splashes or contact. Some products may even require a mask or respirator to prevent inhalation of fine particles. It’s a good idea to dedicate specific clothing for lawn care activities, wash them separately afterward, and store them away from your regular wardrobe. |
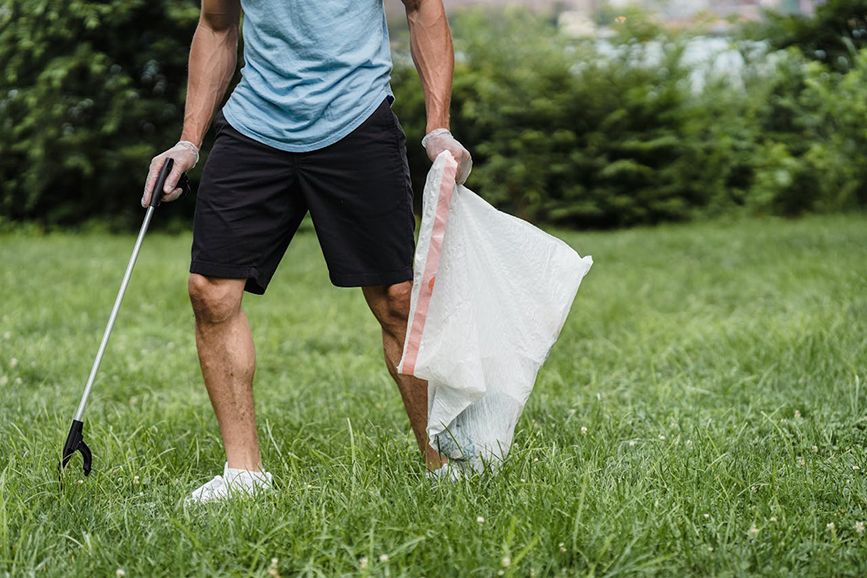 |
| Wear protective gear for safe chemical use on your lawn. |
| Mix and Apply Chemicals Responsibly |
| When mixing concentrated products, always do so in a well-ventilated area and away from children, pets, and open flames. Use clean measuring tools and follow the manufacturer’s dilution instructions exactly. During application, be mindful of where and how you spray or spread chemicals. Avoid windy days, which can carry particles into gardens, onto driveways, or even into neighboring yards. Always keep an even pace to ensure uniform coverage without oversaturation. |
| Linking Seasonal Lawn Care with Home Organization |
| As you tidy up your garage or shed to make room for lawn supplies, remember to store everything safely and systematically. This can be a great time to also focus on seasonal organization projects, like learning how to pack and store Halloween decorations safely, tidy up your garage, and keep it in perfect shape. Properly labeling bins and keeping chemical containers sealed ensures both your décor and lawn product remain in top form until next season. Good organizational habits go hand in hand with safe lawn maintenance. |
| Keep Household Safety in Mind |
| It’s easy to forget that chemical residue can transfer from your shoes or tools into your home. Designate a small outdoor area to remove or clean footwear and equipment after lawn care. Keep all chemical containers tightly sealed and never mix household cleaners with lawn products, as dangerous reactions can occur. Taking these small steps helps maintain safety both inside and outside your home. |
| Protect Water Sources and Wildlife |
| Chemicals can easily make their way into storm drains, rivers, and ponds if you’re not careful. To prevent contamination, avoid applying products before heavy rainfall or near drainage areas. Establish buffer zones around water features and wildlife habitats. If your property borders a stream or pond, consider using organic or low-toxicity alternatives in those areas. Protecting the balance of local ecosystems is as important as achieving a vibrant lawn. |
| Store Lawn Chemicals Safely |
| After each use, store your lawn chemicals in their original containers with labels intact. Keep them in a cool, dry, and well-ventilated space, away from direct sunlight and heat sources. Most importantly, ensure they’re out of reach of children and pets. Never transfer chemicals into food or drink containers, as this can lead to accidental poisoning. If you have leftover solutions, dispose of them properly—never pour them down drains or onto the ground. |
| Be Mindful of Timing and Weather |
| The effectiveness of many lawn products depends heavily on weather conditions. Fertilizers and herbicides should be applied when temperatures are moderate and there’s no immediate risk of rain or strong wind. Early morning or late afternoon tends to be the best time, minimizing evaporation and protecting beneficial pollinators like bees, which are less active then. Following seasonal schedules also ensures that your lawn receives nutrients when it needs them most. |
 |
| The effectiveness of many lawn products depends heavily on weather conditions. |
| Educate Yourself on Organic Alternatives |
| While synthetic chemicals can produce quick results, there are many eco-friendly alternatives worth considering. Organic fertilizers made from compost or bone meal can provide nutrients more gradually, promoting soil health over time. Natural weed control methods, like corn gluten meal or vinegar-based solutions, can minimize chemical exposure. The more you learn about sustainable options, the easier it becomes to balance performance with environmental responsibility. |
| Maintain Proper Lawn Care Habits |
| Healthy lawns require more than just chemicals—they thrive on consistent care. Regular mowing, watering, and aeration encourage strong root growth, making your grass more resilient to pests and weeds. When your lawn is healthy, you can reduce your dependency on chemical treatments altogether. Think of fertilizers and pesticides as supplements, not solutions, and let good maintenance habits take the lead. |
| Watch for Signs of Overuse or Chemical Damage |
| More isn’t always better. If you notice yellow patches, curling blades, or a sudden die-off of insects, your lawn may be reacting to over-application. Step back from treatments for a while and water the area thoroughly to help flush out excess product. In severe cases, you might need to replace affected soil or reseed. Paying attention to early warning signs prevents minor issues from turning into long-term damage. |
| Consult Professionals When Needed |
| If you’re uncertain about which products to use or how much to apply, consider consulting a lawn care professional. They can evaluate your soil, recommend tailored treatment plans, and ensure applications meet environmental safety standards. While DIY approaches are satisfying, expert advice can help you avoid mistakes that may compromise your lawn or local water quality. |
| Be Aware of Local Regulations |
| Lawn chemical regulations vary by region. Some communities restrict or ban certain products to protect local ecosystems. Always check your municipality’s guidelines before purchasing or applying treatments. Staying informed not only prevents potential fines but also supports community efforts toward sustainable lawn care practices. |
| Practice Post-Application Care |
| Once you’ve applied any product, give your lawn a chance to absorb it properly. Keep children and pets off the treated area for the duration specified on the label. Watering afterward, if recommended, helps nutrients reach the roots and minimizes residue on the grass blades. Clean all your equipment thoroughly to prevent cross-contamination for your next use. |
| Creating a Safer, Healthier Lawn |
| Practicing safe chemical use on your lawn isn’t just about following instructions—it’s about creating a healthy balance between nature and your home environment. By reading labels carefully, wearing protective gear, storing products properly, and respecting the natural ecosystem, you can enjoy a lush and vibrant lawn without unnecessary risks. Thoughtful, informed decisions lead to better results and safer outcomes for everyone. With the right care and attention, your lawn can remain a source of pride while contributing to a cleaner, more sustainable outdoor space for years to come. |
Red Leaf Photo By:Jennifer Victor-Larsen
Man Cleaning Up Grass Photo By:Lara Jameson
Women Gardening Photo By:Greta Hoffman
|