| Step inside a minimalist home and you’ll notice something immediately: the calm. There’s a quiet confidence in the simplicity - open spaces, clean lines, and a sense that everything has a purpose. In a world that often feels cluttered and overwhelming, minimalist homes are becoming more than just a design trend - they’re a lifestyle choice that extends beyond interiors and into how homeowners manage their outdoor spaces. |
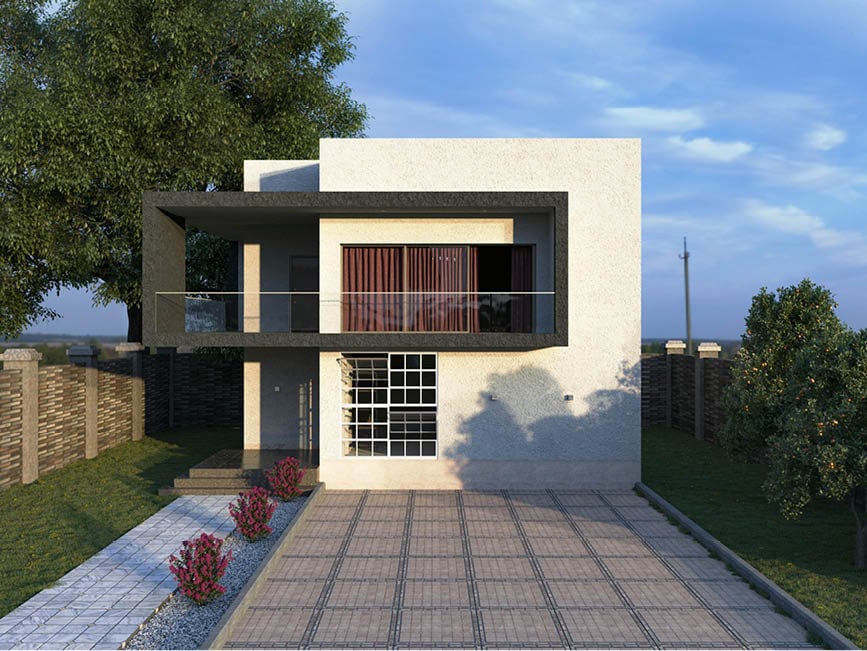 |
| Image Credit: Andrew Levytskyi |
| Today’s minimalist movement isn’t just about what’s inside the home - it’s about creating a seamless, low-maintenance environment both indoors and out. |
| The Power of Less - Inside and Out |
| Minimalism is rooted in the idea that less is more. Instead of filling a home with excess furniture and décor, minimalist design focuses on essentials that bring both beauty and function. That same philosophy is now being applied to outdoor spaces, especially lawns and landscaping.
Homeowners are moving away from overly complex yards filled with high-maintenance plants and decorative clutter. Instead, they’re opting for clean landscaping designs: neatly defined edges, simple plant selections, and open green spaces that mirror the calm of the interior.
A well-maintained lawn, a few intentional plant choices, and clear walkways can create a striking visual impact without overwhelming the space. The result is a property that feels cohesive, balanced, and easy to manage.
|
| Open Spaces That Breathe |
| One of the defining features of minimalist homes is openness. Indoors, this means fewer walls and more natural light. Outdoors, it translates to uncluttered yards that feel spacious and breathable.
Rather than dividing a yard into multiple busy zones, minimalist landscaping favors continuity. A wide, open lawn or a simple patio area becomes the focal point. Strategic use of greenery - like a row of shrubs or a single statement tree - adds character without creating visual chaos.
This approach not only enhances aesthetics but also makes maintenance significantly easier. Fewer elements mean fewer things to trim, water, and manage, which is a major draw for modern homeowners.
|
| Smarter Lawn Maintenance |
| Minimalist living naturally encourages efficiency, and that includes how homeowners care for their lawns. Traditional lawn maintenance often involves bulky, gas-powered equipment, multiple tools, and ongoing upkeep. But the shift toward simplicity is changing that.
Many homeowners are now embracing streamlined lawn care routines supported by modern, efficient tools. Battery-operated lawn equipment, in particular, is becoming increasingly popular as states and cities push toward cleaner, quieter alternatives to gas-powered machines.
Electric mowers, trimmers, and blowers offer several advantages. They’re quieter, easier to start, and require less maintenance. There’s no need for fuel storage, oil changes, or complex repairs. For minimalist homeowners, this aligns perfectly, intending to reduce hassle and keep things simple.
Beyond convenience, these tools also support a cleaner environment - something that resonates strongly with the minimalist mindset of conscious living.
|
| Clean Lines in Landscaping |
| Minimalist homes are known for their crisp, clean lines, and that design principle extends beautifully to outdoor spaces. Straight pathways, geometric garden beds, and clearly defined lawn edges create a polished, modern look.
Hardscaping elements like stone walkways, concrete slabs, or wooden decking are often used to add structure without overwhelming the design. These features not only look elegant but also reduce the amount of lawn that needs regular maintenance.
Plants are chosen with intention. Instead of a wide variety of species, minimalist landscapes often focus on a limited palette - think ornamental grasses, evergreen shrubs, or drought-resistant plants. This creates a cohesive look while making care routines more predictable and manageable.
|
| Function Meets Simplicity |
| Minimalist homes prioritize function, and that applies just as much to outdoor spaces. Every element in a yard should serve a purpose, whether it’s providing shade, defining a space, or enhancing usability.
Outdoor areas are increasingly designed for real living rather than decoration. A simple seating area, a clean patio, or a small garden can transform a yard into a functional extension of the home.
Storage is also becoming more streamlined. Instead of cluttering garages or sheds with multiple tools and supplies, homeowners are investing in multi-functional equipment and compact storage solutions. This keeps outdoor areas tidy and reinforces the minimalist aesthetic.
|
| A Response to Modern Life |
| The growing popularity of minimalist homes reflects a broader shift in how people want to live. Busy schedules, digital overload, and constant demands have led many to seek simplicity and balance.
Low-maintenance homes and yards offer exactly that. By reducing the time and effort required for upkeep, homeowners can focus on what matters most - whether it’s relaxing, spending time with family, or pursuing personal interests.
A simplified lawn care routine, supported by efficient equipment and thoughtful landscaping, becomes part of a larger lifestyle choice centered on ease and intention.
|
| Sustainability and Smart Choices |
| Minimalism and sustainability often go hand in hand. Using fewer resources, choosing durable materials, and reducing waste are all key aspects of this lifestyle.
In lawn care, this can mean selecting native plants that require less water, installing efficient irrigation systems, or transitioning to electric equipment. These choices not only reduce environmental impact but also lower long-term costs.
Minimalist landscaping also tends to avoid overconsumption. Instead of constantly adding new features or replacing elements, homeowners focus on maintaining a few high-quality components that stand the test of time.
|
| Market Appeal and Practical Value |
| Minimalist homes have a strong appeal in the real estate market, and their outdoor spaces play a big role in that. A clean, well-maintained yard signals that a property has been cared for and is easy to manage.
Buyers are often drawn to homes that don’t come with overwhelming maintenance requirements. Simple landscaping and modern lawn care solutions can make a property feel more accessible and move-in ready.
This is especially attractive to cash home buyers who are looking for efficient, hassle-free investments. A minimalist property - with both indoor and outdoor spaces designed for ease - can stand out in a competitive market.
|
| Minimalism as a Lifestyle |
| Ultimately, minimalism is about more than design - it’s about creating a home environment that supports clarity, comfort, and intentional living. Extending that philosophy to outdoor spaces makes the entire property feel unified.
A minimalist yard doesn’t mean sacrificing beauty. Instead, it highlights the natural elements that matter most. A neatly cut lawn, a thoughtfully placed tree, or a clean pathway can have a greater impact than an overly complex design.
|
| The Future of Home Design |
| As homeowners continue to prioritize simplicity, efficiency, and sustainability, minimalist homes are set to remain a strong trend. The integration of low-maintenance landscaping and modern lawn care tools only strengthens their appeal.
Open spaces and clean lines are no longer just about aesthetics - they represent a smarter way of living. By embracing simplicity both inside and outside the home, homeowners can create spaces that are not only beautiful but also practical and enduring.
In a fast-paced world, that combination is hard to beat.
|